
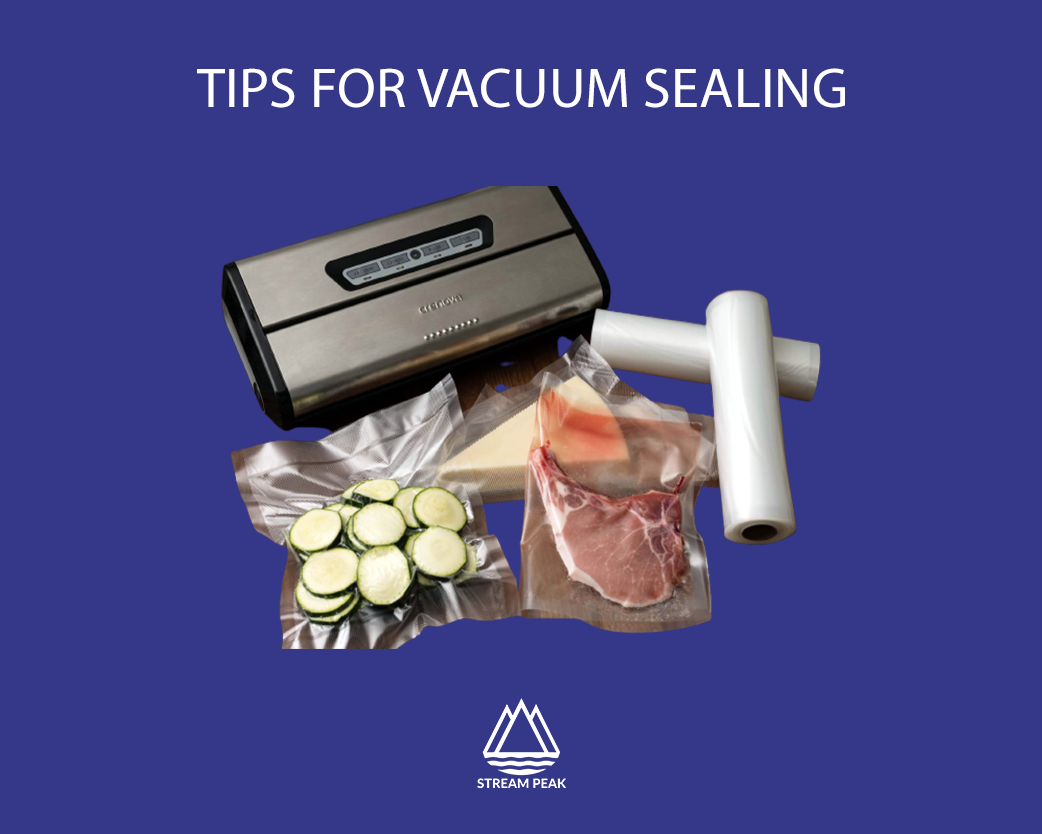
Tips for Vacuum Sealing
The right packaging solution can significantly extend the shelf life and freezer storage since oxygen is one of the leading causes of food deterioration, and vacuum sealing helps remove it.
Even though vacuum packaging can increase the shelf life of most consumable goods, issues can still occur. Minor adjustments or errors can cause unwanted food deterioration or freezer burn during the bagging and sealing procedure. Follow the steps below for tips on vacuum sealing.

Choose the right sealer
Before packaging, choose the appropriate vacuum sealer for the items that need to be packaged. Consider speed and efficiency when choosing a vacuum sealing system, as well as features. Although vacuum sealers can accomplish various tasks, they need to be quicker for greater-volume vacuum packaging. Even if they seal and vacuum fast enough, the components might need to be stronger for packaging that requires heavier usage.
Use Compatible Vacuum Bags
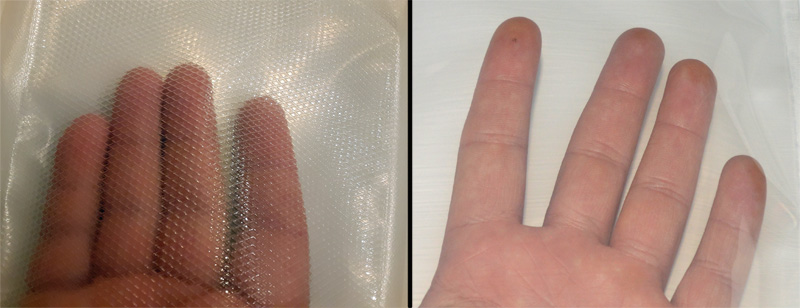
Making sure that new bags or rolls have textured channels on them. A textured vacuum bag is necessary for machines with a smaller internal compressor so that air may escape and run out of the bag as a vacuum is pulled.
Avoid using the sealer with smooth replacement vacuum bags or regular poly bags. A vacuum bag contains an oxygen barrier that keeps air from entering or escaping after it has been sealed. Users must ensure that any bags or rolls they use with the sealer have an oxygen barrier to help prolong the shelf life of food. Inserting food-grade desiccants or oxygen absorbers after sealing will also help with good preservation.
Wash hands and wear gloves
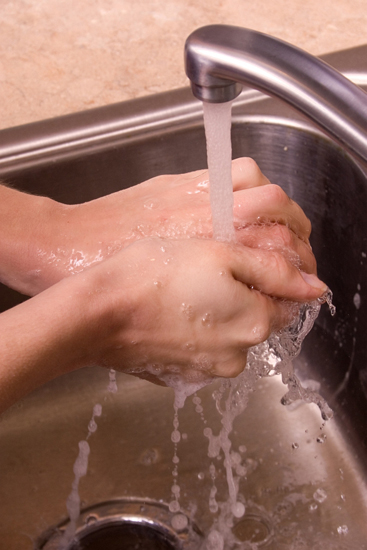
Proper hand washing or protective gloves are recommended if hands come into contact with the product. Meals are frequently cooked after being removed from vacuum bags to kill bacteria. However, occasionally, products may already be cooked and only need to be warmed. Please keep clean whenever coming into contact with vacuum-sealed meals.
Allow items to Cool before vacuum sealing

Warm food produces condensation, which can cause the bag to have moisture. Water can cause freezer burn in frozen storage even with a sufficient vacuum and air removal. Foods should be cooled before being transferred into vacuum bags. This will ensure that less moisture accumulates on the bag’s interior, preventing food degradation.
Do not fill the bag fully
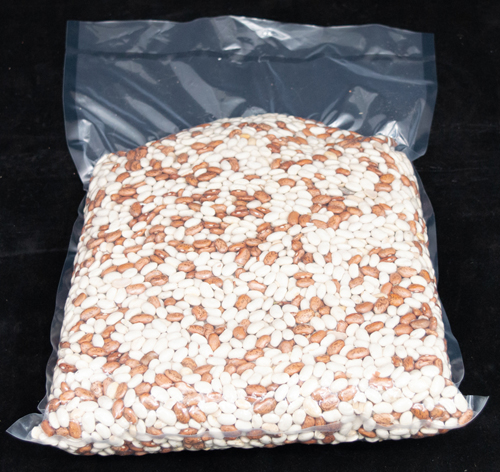
When vacuum sealing, the open side of the bag needs space to remove air and form a seal. Some sealers need a larger top space than others to form a seal. The extra space is also beneficial if the product contains any liquids. The liquid will be drawn out from the bottom of the bag during vacuum sealing; however, too much liquid can deter the heat-sealing process and prevent strong seals from forming.
Wipe off liquids and particles before sealing
Consumable products leave residue behind when placed in the bag. To improve the seal, wipe off anything from the top of the bag with a paper towel. A vacuum cannot hold if there are tiny food particles or even too much juice in the way of the seal, and the contents will deteriorate. Take the extra time to wipe up any liquid or residue if it appears at the top of the bag, where the seal is created.
Bags are properly aligned within the vacuum sealer
The bag must be positioned in a particular way in each vacuum sealer for the air removal and seal to be successful. The bag must be placed in a specific position for air removal and sealing when using edge sealers, which contain a reservoir for liquids and a sealing wire. The entire procedure will only function properly if the open end is appropriately aligned. Even larger chamber vacuum sealers require a specified location for the package’s end to be inserted to create a seal.
Inspect Vacuum Bag After sealing
A finished seal can be inspected in a variety of ways. Visually check the seal seam first. Spots must seal for the bag to maintain a vacuum. Small creases or wrinkles in the seal seam are another frequent sources of air exposure. A wrinkle could show if the bag is not positioned correctly in the sealer. Any minor folds or wrinkling that crosses the seal seam will result in leakage.
When vacuuming anything with sharp edges or bones, visually check the box after it has been sealed. When in doubt about a package’s seal or punctures, lay it aside for a while and then check to see if the vacuum is still in place. Air can enter the package through tiny holes, leading to product loss and spoiling.
A vacuum-packaged bag can also be quickly checked by giving it a vigorous tug after it has been sealed. Grab the sides with two hands and try pulling them apart. The bag needs to be properly sealed again if it breaks easily.
Inspect the sealing area after each use
Juice and other ingredients may solidify and accumulate on the sealing wire after several seals have been created. Over time, the buildup might prevent sealing and make the sealing weak. To maintain a longer sealing wire life, clean the sealing region after use with a gently wet towel. The sealing wire can is covered with Teflon tape for extra protection. If any portions of the Teflon cover are damaged or shredded, replace the Teflon tape, which is more affordable than a new sealing wire.
Conclusion
With a few simple measures, ensure that stored things are completely sealed and guarded against spoiling or freezer burn. Make a second seal over the creased seal if the first one has wrinkles or folds, as the double seal provides additional protection for objects in vacuum packaging.